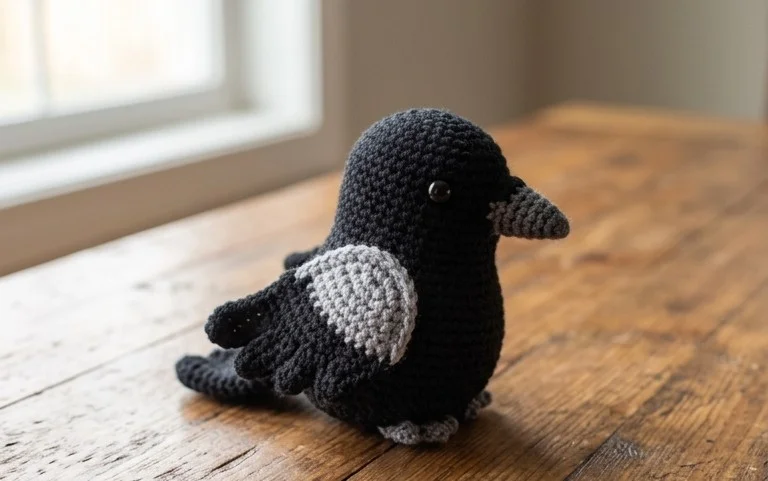
How to Crochet a Magic Circle: Easy Step-by-Step Guide
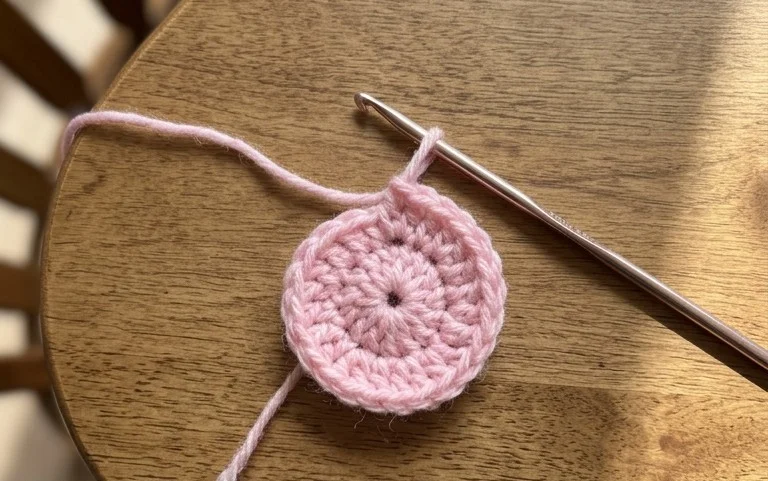
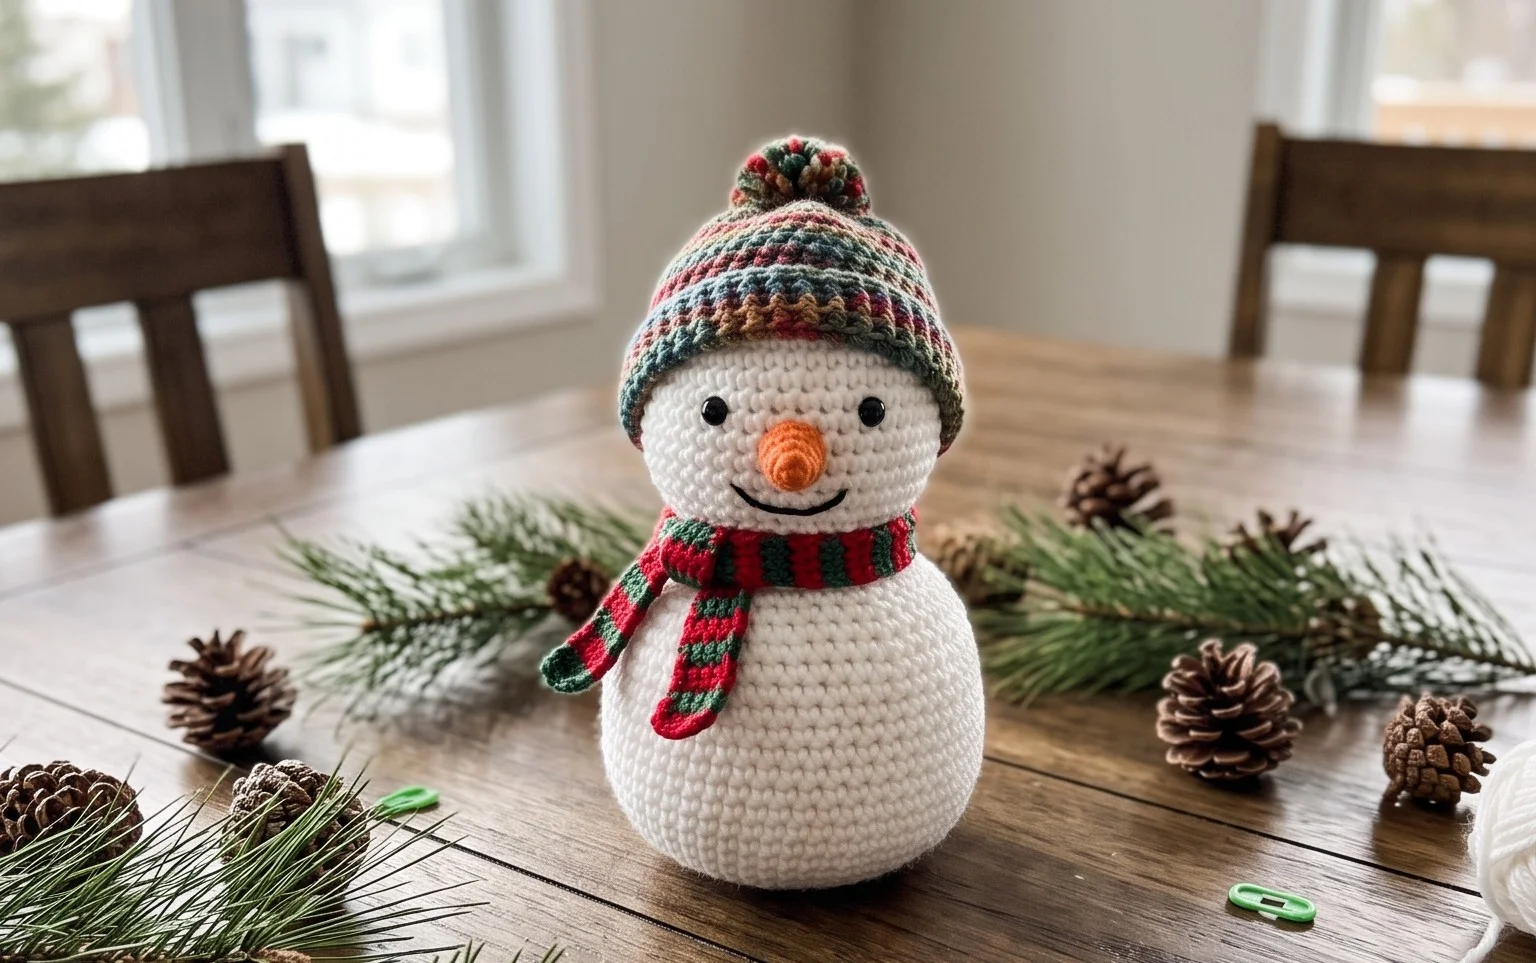
A tight center defines the look of your amigurumi or granny square, and the magic circle technique prevents that unsightly hole from appearing in your foundation row. This adjustable loop allows you to pull the yarn tail tightly once your first round is complete, resulting in a smooth finish that looks professional every single time. Beginners often struggle with starting in a chain, but this method offers a flexible way to build your stitches directly into the yarn itself. You will find this skill essential for hats, flowers, and dense fabric items that start from a single point.
Why You’ll Love This Pattern
The Classic Crochet Granny Square is the quintessential building block for fiber artists. It works up quickly using simple clusters, making it an ideal project for practicing consistent tension and color transitions. Because it uses a repetitive three-round motif, you can memorize the pattern in minutes, allowing for a relaxing, meditative stitching experience. This square is incredibly versatile, serving as the foundation for everything from lightweight summer bags to heirloom-quality blankets. Its modular nature means you can finish a single square in one sitting without committing to a massive time investment.
I finally learned how to join these squares together to make a tote bag, and the pattern instructions were so clear that I finished my first project in just one weekend.
— Sarah, beginner crocheter
Pattern Overview & Skill Level
- Skill Level: Beginner
- Approximate Time: 30 to 45 minutes per square
- Construction: Worked in joined rounds, starting from the center and moving outward
- Finished Dimensions: Approximately 5 inches by 5 inches using medium weight yarn
Materials & Supplies Needed
- Yarn: Worsted weight (#4), 100% acrylic or wool blend, approximately 20 yards per square.
- Hook Size: 5.0 mm (US H-8).
- Notions: Yarn needle for weaving ends, sharp scissors.
- Safe Yarn Substitutions: You can use DK weight yarn for a smaller, more delicate square or bulky weight yarn for a larger, chunkier result; note that changing weight requires a hook size adjustment to maintain appropriate drape.
Stitch Guide & Abbreviations (US Terms)
- ch = chain
- st/sts = stitch/stitches
- sl st = slip stitch
- dc = double crochet
- dc cluster = 3 dc worked into the same space
- sp = space
- MR = magic ring
Step-by-Step Pattern Instructions
The square is worked in continuous rounds, joining at the end of each round to maintain a clean, flat appearance.
Granny Square Body
- Rnd 1: Start with a MR. Ch 3 (counts as first dc), work 2 dc into the ring, ch 2, *3 dc into ring, ch 2; repeat from * twice more. Join with a sl st to the top of the initial ch-3. (12 dc, 4 ch-2 spaces)
- Rnd 2: Sl st into the next dc and into the first ch-2 corner space. Ch 3, 2 dc, ch 2, 3 dc in the same corner space. *Ch 1, skip 3 dc, (3 dc, ch 2, 3 dc) in the next corner space. Repeat from * twice more. Ch 1, join with a sl st to the top of the initial ch-3. (24 dc, 4 ch-2 spaces, 4 ch-1 spaces)
- Rnd 3: Sl st into the next 2 dc and into the first ch-2 corner space. Ch 3, 2 dc, ch 2, 3 dc in same corner space. *Ch 1, 3 dc in the next ch-1 side space, ch 1, (3 dc, ch 2, 3 dc) in the next corner space. Repeat from * twice more. Ch 1, 3 dc in last ch-1 side space, ch 1, join with a sl st to the top of the initial ch-3. (36 dc, 4 ch-2 spaces, 8 ch-1 spaces)
Finishing
Fasten off the yarn, leaving a 6-inch tail. Pull the tail through the final loop to secure. Use a yarn needle to weave the end through the back loops of the stitches on the reverse side of the square to hide it cleanly. Repeat for the starting yarn tail.
Care & Washing Instructions
- Machine wash in cold water on a gentle cycle using mild detergent.
- Lay the square flat on a clean towel to air dry, reshaping it with your hands while damp to ensure square corners.
- Block if necessary by pinning the damp square to a foam mat, ensuring all four sides are straight, and letting it dry completely.
Pro Tips & Common Mistakes to Avoid
Maintain consistent tension by ensuring your fingers are relaxed while holding the yarn; tight stitches make it difficult to insert the hook into ch-1 spaces. Always count your stitches at the end of each round to confirm you have four distinct corners and the correct number of side clusters. If you want a larger square, simply continue working additional rounds following the Rnd 3 logic: add an extra cluster in every side ch-1 space for each subsequent round. When weaving in ends, weave them back and forth in different directions to ensure they do not pull out during laundering.
Frequently Asked Questions
Can I substitute the yarn for cotton?
Yes, you can use cotton yarn, but be aware that cotton has less elasticity than wool or acrylic and may result in a slightly stiffer square.
How do I adjust the size of the square?
To make the square larger, continue working rounds in the same pattern. Each additional round adds one extra dc cluster to each side of the square.
Is this pattern suitable for complete beginners?
This pattern is highly recommended for beginners because it relies on the double crochet stitch and introduces working into chain spaces rather than individual stitches.
Can I sell the finished items made from this pattern?
You are welcome to sell physical items made from this pattern, but always check the specific designer terms if you are using a source provided by another professional artist.
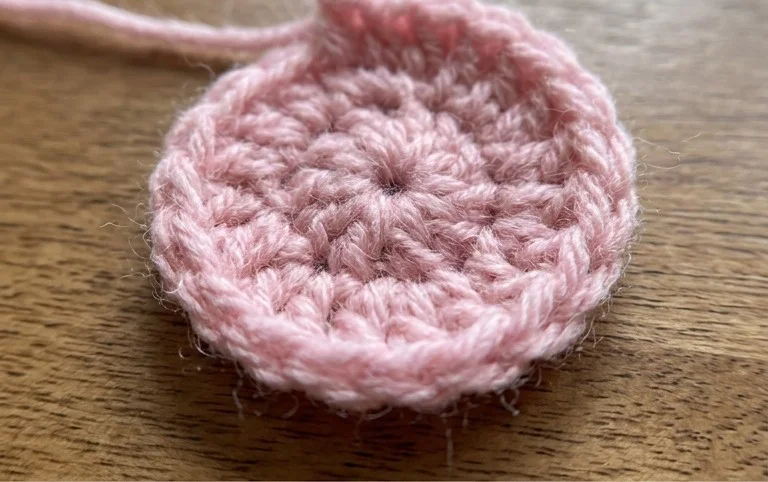
Mastering this simple loop gives you the freedom to start any round project without gaps or loose tension issues at the center point. You might experiment with variegated yarn for a colorful effect or try a thicker cord to build a sturdy basket base. Once you get comfortable with the tension, share a photo of your success online to help others see how simple the process feels once you practice it a few times. Feel free to browse our collection of other basic stitch guides for more inspiration.