Easy Monkey Hat Crochet Pattern: Free Step-by-Step Guide
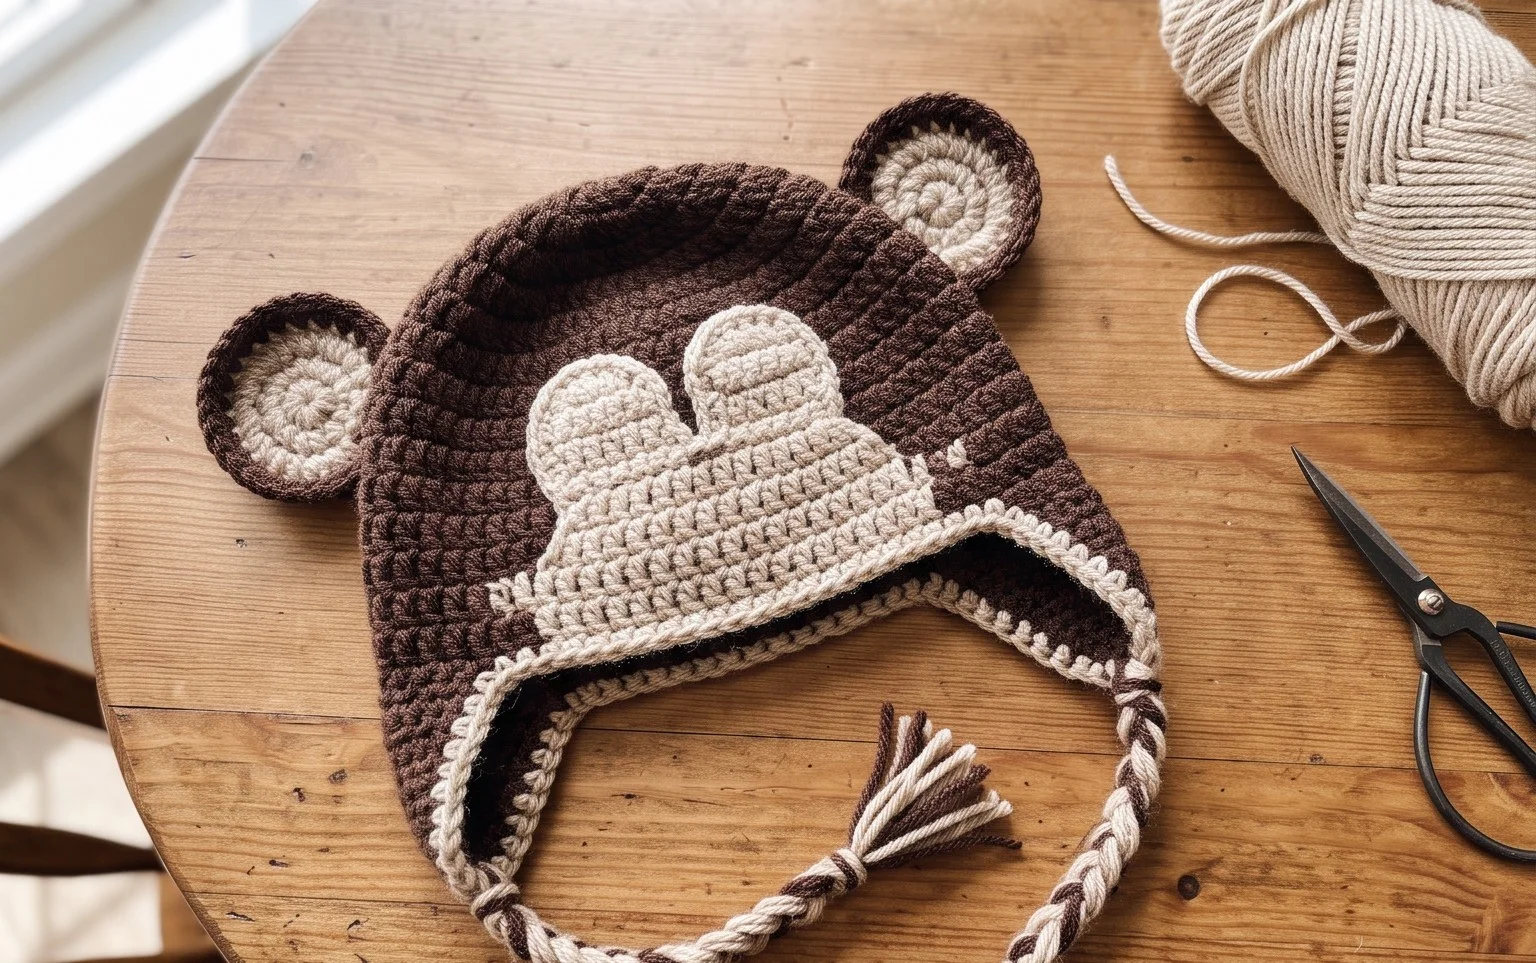
This cheeky primate-inspired accessory features a soft, rounded crown and playful ears that sit upright to capture everyone’s attention at winter gatherings. You will find that the dense fabric works up quickly, offering a squishy, comfortable layer that stays firmly in place during gusty weather. It is a fantastic project for building confidence because the design relies on a single, rhythmic stitch repeated across flat rows. Whether you are crafting a gift for a young child or a quirky statement piece for yourself, you will appreciate how the simple construction allows you to focus entirely on maintaining clean, even edges throughout the entire body of the work.
Why You’ll Love This Pattern
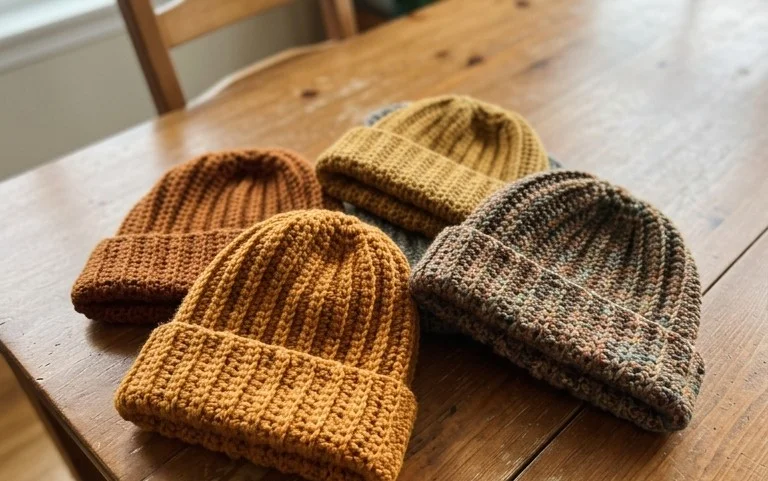
This crochet ribbed beanie pattern utilizes a simple back-loop-only technique that creates an incredibly stretchy, professional-looking fabric that mimics the appearance of knit ribbing. Because it is worked as a flat rectangle and then seamed, it is an ideal choice for beginners who want to practice consistent tension without the complexity of circular shaping. The fabric has a dense, squishy texture that provides excellent warmth for chilly days, and the basic rectangle construction means you can easily customize the length by simply adding or subtracting starting chains.
I finished this hat in one evening while watching a movie. The pattern is very easy to follow and the finished result is so soft and stretchy that it fits everyone in my family.
— Sarah, hobbyist crocheter
Pattern Overview & Skill Level
- Skill Level: Beginner
- Approximate Time: 3 to 4 hours
- Construction: Worked flat in rows to create a rectangle, then seamed along the side and cinched at the top
- Finished Dimensions: 9 inches wide by 11 inches tall (laying flat, unstretched), fits most average adult heads
Materials & Supplies Needed
- Yarn: Worsted weight (#4), wool or acrylic blend, approximately 200 yards.
- Hook Size: 5.0 mm (H-8) crochet hook.
- Notions: Tapestry needle for seaming and weaving ends, locking stitch markers, and scissors.
- Safe yarn substitutions: You can use any worsted weight yarn, though wool provides more elasticity and memory than 100% cotton, which may grow heavy and lose its shape over time.
Stitch Guide & Abbreviations (US Terms)
- ch: chain
- st/sts: stitch/stitches
- sc: single crochet
- BLO: back loop only (insert hook under the back loop of the V-shape of the stitch instead of both loops)
- sl st: slip stitch
Step-by-Step Pattern Instructions
Hat Body
- Row 1: Ch 45. Sc in the second ch from the hook and in each ch across. Ch 1, turn. (44 sts)
- Row 2: Working in BLO, sc in each st across. Ch 1, turn. (44 sts)
- Rows 3–60: Repeat Row 2 until the piece measures approximately 18 inches in length when slightly stretched. Do not fasten off after the final row.
Assembly
- Fold the rectangle in half by bringing the short ends together.
- Use the working yarn and a sl st or a tapestry needle to sew the two edges together, creating a tube.
- Fasten off, leaving a 12-inch tail of yarn.
- Thread the remaining tail onto your tapestry needle and weave it in and out of the stitches along the top edge of the tube.
- Pull the yarn tail tight to gather the top of the hat closed, securing the opening with a few firm stitches.
- Turn the hat right side out and secure the yarn end inside the hat.
Care & Washing Instructions
- Hand wash your beanie in cool water with a gentle wool-safe detergent to maintain the integrity of the fibers.
- Lay the hat flat on a clean towel and roll it to remove excess moisture, then reshape it while damp.
- Avoid wringing or twisting the fabric, as this can cause the yarn to lose its elasticity and distort the ribbing.
Pro Tips & Common Mistakes to Avoid
- Maintain consistent tension, especially on the turning chains, to ensure the edges of your rectangle remain perfectly straight.
- Use a stitch marker in the first and last stitch of every row to avoid accidentally dropping stitches, which causes the sides of your rectangle to slant.
- Weave in your starting and ending yarn tails by moving the needle through the stitches in multiple directions to ensure the seam does not unravel with wear.
- To adjust the hat size, change your starting chain count; adding chains makes the hat taller, while adding more rows to the width increases the circumference.
Frequently Asked Questions
Can I use a different yarn weight for this pattern?
Using a lighter or heavier yarn will significantly change the gauge and finished size. If you choose a different weight, you will need to adjust your foundation chain and total number of rows to reach your desired head measurement.
Is this pattern suitable for complete beginners?
Yes, this project only requires the single crochet stitch and the ability to work into the back loop. It is a foundational pattern that helps beginners practice tension control and basic finishing techniques.
Can I sell the hats I make from this pattern?
You are welcome to sell finished items made from this design, provided you credit the pattern origin. Please note that you may not sell or distribute the pattern itself.
How do I keep the seam from looking bulky?
When seaming, use the mattress stitch or a simple whip stitch through the very edge of the stitches. Keeping your yarn tension moderate during the seaming process will prevent the joined edge from becoming thick or stiff compared to the rest of the fabric.
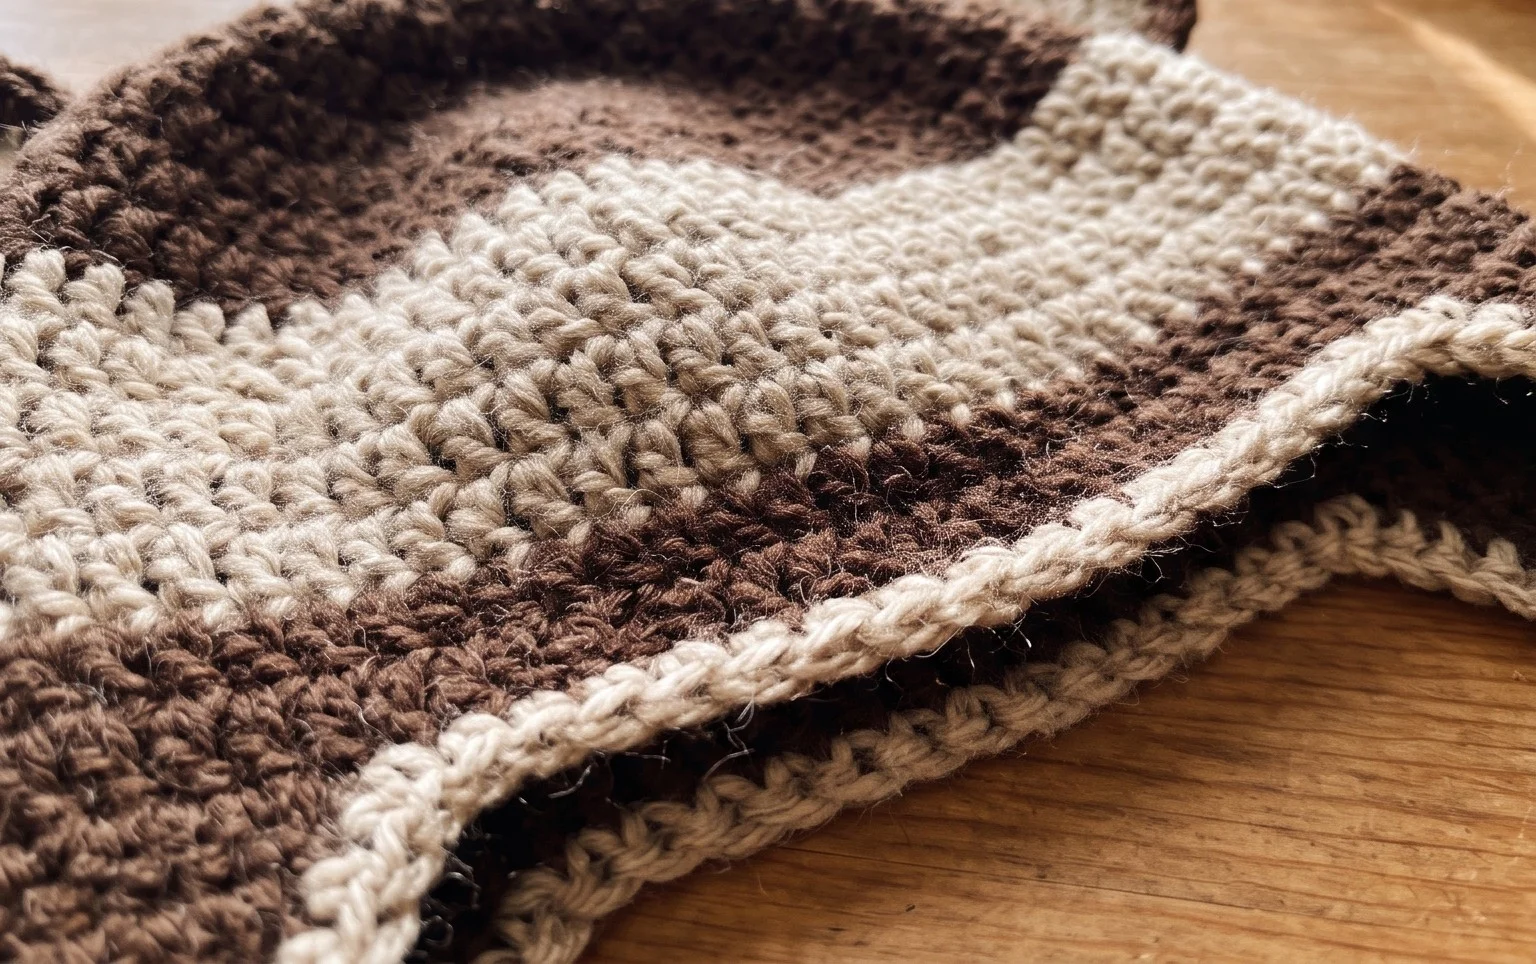
Your finished primate beanie brings a sense of whimsy to any winter wardrobe while providing reliable warmth on the coldest days of the year. If you want a subtle look for an adult, try using neutral earth tones like deep charcoal or chocolate brown instead of the traditional bright tan shade. Posting a photo of your work on Instagram or sharing it to your craft board helps other makers find their next inspiration. You are welcome to browse the rest of my site for more free accessory projects.