Easy Crochet Twist Headband: Free Beginner Pattern & Guide
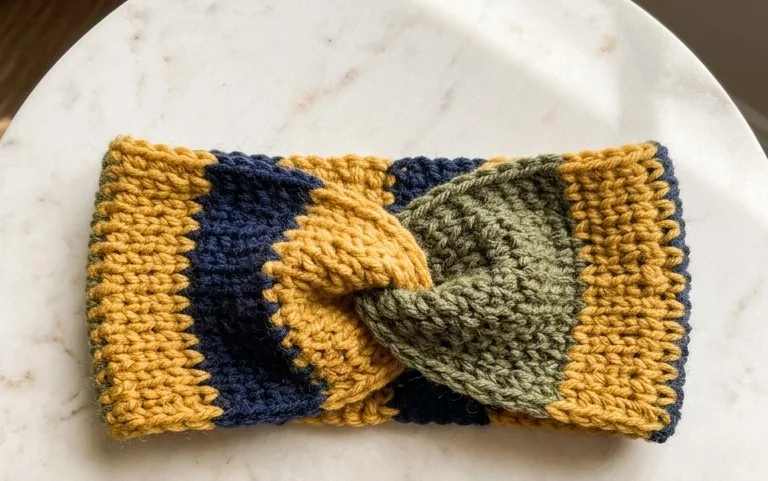
This headband sits softly against your skin with a thick, squishy texture that keeps your ears warm during chilly morning commutes or windy park walks. It works up quickly for a last-minute gift, and the simple twist construction adds a touch of modern style to any outfit. Beginners will find the process satisfying because it relies entirely on basic stitches worked in the back loops, which creates a flexible ribbed fabric that fits snugly without sliding off. By the end of this guide, you will master the specific technique needed to sew the fabric into a perfect, flattering twist.
Why You’ll Love This Pattern
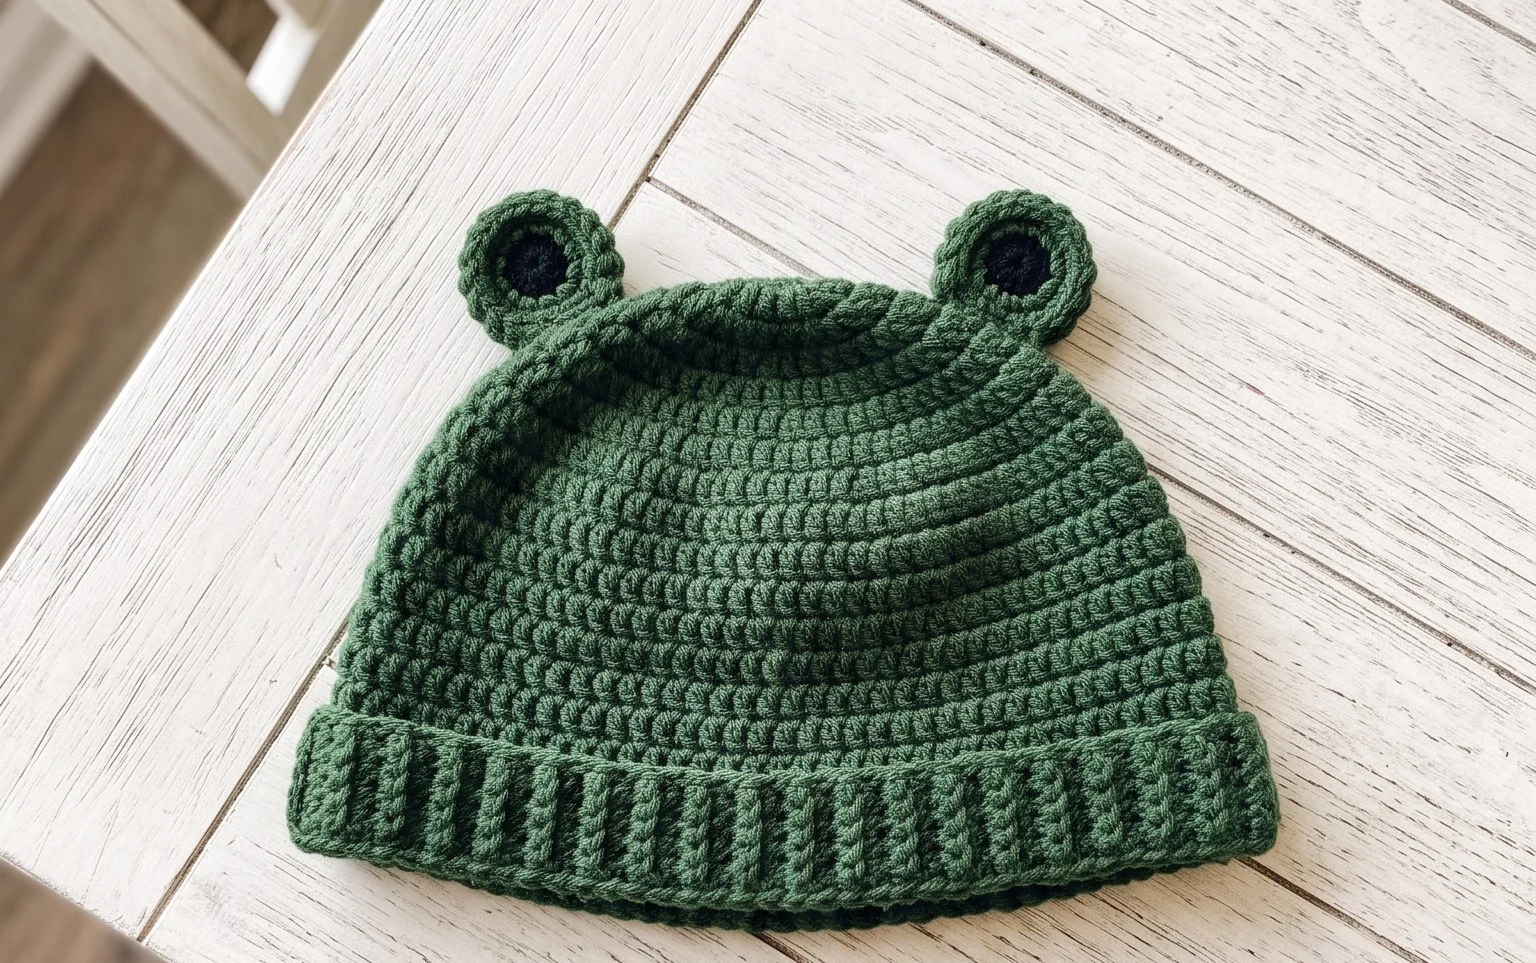
This crochet ribbed beanie pattern uses a simple construction method that creates a professional, store-bought look with minimal effort. You work the entire hat as a flat rectangle, which means you avoid complex decreases or counting rounds while working. Once you finish the rectangular panel, a simple seam connects the edges to form a tube, and a running stitch gathers the top to close the crown. It is a perfect project for using up partial skeins of medium-weight yarn, as the ribbed texture remains flexible even if you switch colors between sections. Because the stitch pattern relies on a repeating sequence of stitches worked in the back loops, it is ideal for practicing consistent tension.
This pattern was the first project where I finally understood how to make a seam look invisible. It worked up in one evening while I watched a movie, and the fit is much more comfortable than the hats I usually make in the round.
— Sarah, hobbyist crocheter
Pattern Overview & Skill Level
- Skill Level: Beginner
- Approximate Time: 3 to 4 hours
- Construction: Worked in flat rows to create a rectangle, then seamed into a tube and cinched at the crown.
- Finished Dimensions & Sizing: Fits an average adult head (20 to 22 inches in circumference), with a height of 9 inches when folded.
Materials & Supplies Needed
- Yarn: Worsted weight (#4), approximately 200 yards. Wool or an acrylic-wool blend provides the best elasticity for a snug fit.
- Hook Size: 5.0 mm (US H-8) crochet hook.
- Notions: Tapestry needle for seaming and weaving ends, locking stitch markers, and scissors.
- Safe Yarn Substitutions: You can use a lighter DK weight yarn, but you will need to increase the foundation chain length by 10 percent to maintain the same finished circumference. Using a heavy cotton yarn will result in a stiff, heavy hat that lacks the necessary stretch for a comfortable fit.
Stitch Guide & Abbreviations (US Terms)
- ch = chain
- sc = single crochet
- BLO = back loop only (insert the hook under the back loop of the stitch instead of both loops)
- sl st = slip stitch
- st/sts = stitch/stitches
Step-by-Step Pattern Instructions
This hat is worked back and forth in rows. The height of the hat is determined by the number of chains you make at the start.
Hat Body
- Row 1: Ch 41. Sc in the second ch from hook and in each ch across. Turn your work. (40 sts)
- Row 2: Ch 1, working in BLO, sc in each st across. Turn your work. (40 sts)
- Rows 3 to 60: Repeat Row 2 until the piece measures approximately 20 inches wide when stretched slightly.
- Fastening Off: Leave a long tail of yarn, approximately 15 inches, before cutting the yarn. This tail is necessary for sewing the seam and closing the top.
Assembly
- Seaming: Fold the rectangle in half, matching the short ends together. Thread your long yarn tail onto the tapestry needle. Use a mattress stitch or a simple whip stitch to join the two short edges together to form a tube.
- Closing the Crown: With the hat inside out, thread the yarn tail in and out through the stitches along the top edge of the tube. Pull the yarn tight to gather the opening closed like a drawstring. Secure the yarn with a knot and weave the end into the fabric.
- Finishing: Turn the hat right-side out. You can add a pom-pom to the top if desired.
Care & Washing Instructions
- Hand wash the finished hat in cool water using a mild wool-safe detergent to maintain the integrity of the fibers.
- Do not wring or twist the item; instead, press excess water out by rolling the hat in a clean towel.
- Lay the hat flat on a dry surface away from direct sunlight or heat sources to air dry and prevent the ribbing from losing its shape.
Pro Tips & Common Mistakes to Avoid
Maintain consistent tension throughout the rows; if your foundation chain is too tight, the bottom edge of the hat will not have enough stretch to fit over your head comfortably. Use a stitch marker on the first and last stitch of every row to ensure you do not accidentally skip stitches, as this causes the edges to slant. Weave your yarn tails in at least three different directions through the ribbing to ensure they remain secure during washing. If you want a slouchier fit, simply add 5 to 10 more rows to the total length before seaming.
Frequently Asked Questions
Can I use a different yarn weight for this pattern?
While you can use a lighter or heavier yarn, you must adjust the starting chain length and the number of rows to match the desired dimensions. A lighter yarn will require more chains to reach the target height, while a heavier yarn will require fewer.
Is this project suitable for a complete beginner?
Yes, this is an excellent first project because it uses only one basic stitch, the single crochet, and requires no increasing or decreasing. The flat construction eliminates the need to understand working in the round.
How do I resize this for a child?
To make a child-sized hat, reduce your starting chain by 5 to 8 stitches to decrease the height, and work fewer rows until the circumference measures about 17 to 18 inches.
Can I sell the finished hats made from this pattern?
You are welcome to sell finished items created from this pattern. I ask that you credit the designer by including a link back to this website in your product listings.
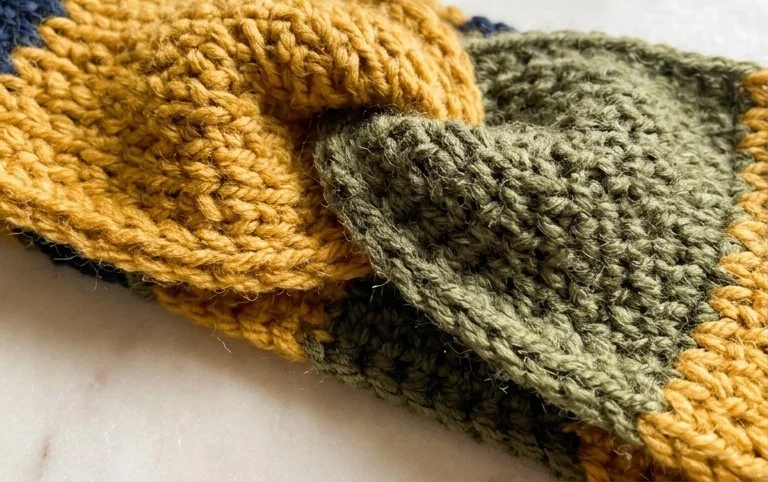
You now have a warm accessory ready to wear or wrap as a thoughtful present for a friend. Try switching to a variegated wool yarn if you want to experiment with shifting color patterns that make each piece look completely unique. Sharing a photo of your finished work on your favorite social media site is a great way to show off your progress to the community. You can head back to the main blog page to discover more straightforward projects and free patterns to fill your afternoon.