Crochet Pumpkin Pie Slice Coaster – Easy Free Pattern
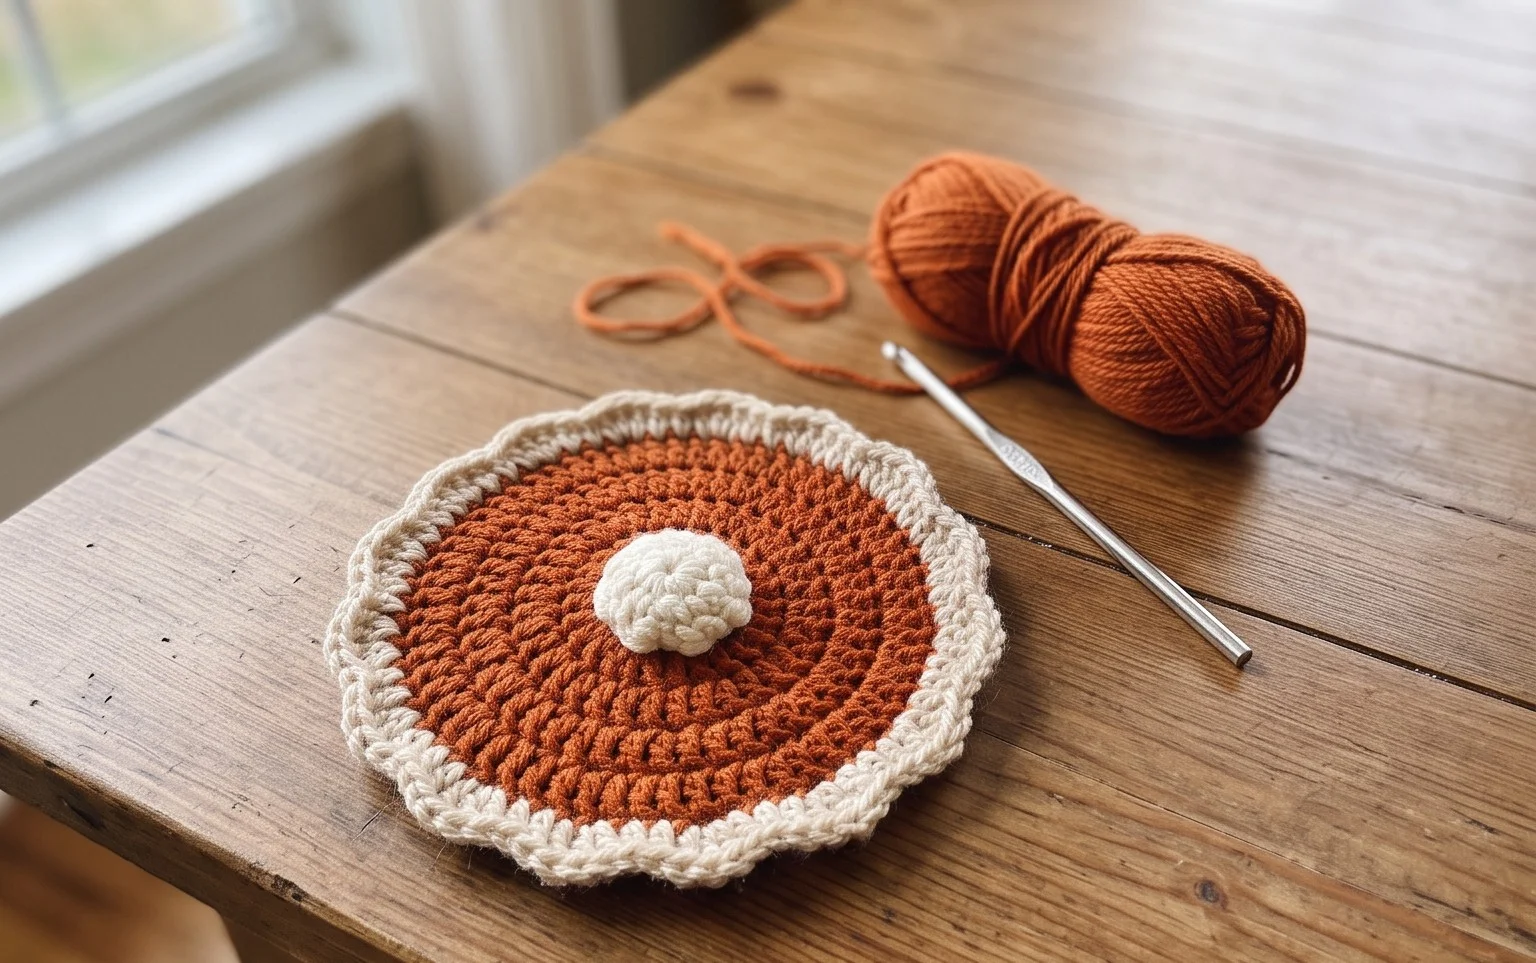
A warm slice of orange cotton yarn sitting on your coffee table brings an immediate sense of autumn comfort to any room. These wedges have a firm, triangular shape that sits flat against a surface to catch every stray drop of condensation from a chilled glass or a steaming mug of tea. Making them requires only basic knowledge of chain and double crochet stitches, which makes this project a reliable choice for beginners who want to build confidence with shaping. You will spend your afternoon working through simple increase rows until each wedge reaches its final size, resulting in a stack of kitchen essentials that look exactly like dessert.
Why You’ll Love This Pattern
This beginner-friendly crochet coaster set works up in under an hour, making it an ideal weekend project for using up leftover yarn scraps. The dense, textured stitch pattern creates a heat-resistant surface that protects your wooden tables from moisture and hot mugs. Because the design is constructed in continuous rounds without complex color changes, it is a relaxing, repetitive project that requires minimal counting once you finish the first few growth rounds. These coasters also make thoughtful, handmade housewarming gifts that look polished and professional.
These coasters were the first project I successfully finished without messing up my stitch counts. They look great in my living room and I have already made a dozen as gifts for my neighbors.
— Sarah, casual crocheter
Pattern Overview & Skill Level
- Skill Level: Beginner
- Approximate Time: 45 minutes for a set of four
- Construction: Worked in joined rounds, starting from the center and expanding outward with increases
- Finished Dimensions & Sizing: 4 inches (10 cm) in diameter
Materials & Supplies Needed
- Yarn: Worsted weight (#4) cotton yarn, approximately 15 yards per coaster. Cotton is essential for heat resistance and moisture absorption.
- Hook Size: 5.0 mm (H-8) crochet hook.
- Notions: Tapestry needle for weaving in ends, a pair of sharp scissors, and a measuring tape.
- Safe yarn substitutions: You may use acrylic yarn, but note that it will not absorb moisture as well as cotton and may melt if placed under very hot cookware. Using a lighter weight yarn will result in a smaller coaster, while a heavier yarn will create a larger, chunkier finish.
Stitch Guide & Abbreviations (US Terms)
- ch: chain
- st(s): stitch(es)
- sl st: slip stitch
- sc: single crochet
- inc: 2 sc in the same stitch
- YO: yarn over
- Magic Ring: A technique to start rounds by crocheting into an adjustable loop.
Step-by-Step Pattern Instructions
Coaster Body
The coaster is worked in continuous rounds using a flat-circle increase method. Always pull your slip stitches tight to keep the seam as invisible as possible.
- Rnd 1: Start with a Magic Ring. Work 6 sc into the ring. Join with a sl st to the first sc. (6 sts)
- Rnd 2: Ch 1, work 2 sc in each st around. Join with a sl st to the first sc. (12 sts)
- Rnd 3: Ch 1, 1 sc in the next st, 2 sc in the next st around. Join with a sl st to the first sc. (18 sts)
- Rnd 4: Ch 1, 1 sc in each of the next 2 sts, 2 sc in the next st around. Join with a sl st to the first sc. (24 sts)
- Rnd 5: Ch 1, 1 sc in each of the next 3 sts, 2 sc in the next st around. Join with a sl st to the first sc. (30 sts)
- Rnd 6: Ch 1, 1 sc in each of the next 4 sts, 2 sc in the next st around. Join with a sl st to the first sc. (36 sts)
Finishing
Fasten off your yarn, leaving a 6-inch tail for weaving. Use your tapestry needle to pull the tail through the back loops of the final round to secure the shape. Trim the excess yarn close to the fabric, being careful not to cut the actual stitches.
Care & Washing Instructions
- Machine wash on a gentle cycle in cool water using a mild detergent.
- Lay the coasters flat on a clean towel to air dry, reshaping them while damp to ensure they remain perfectly circular.
- Do not use bleach or fabric softeners, as these can degrade the cotton fibers and reduce the natural absorbency of the yarn.
Pro Tips & Common Mistakes to Avoid
Maintaining consistent tension is the most important factor for a flat coaster; if your coaster begins to cup or ruffle, try going up or down half a hook size. Always place a stitch marker in the first stitch of every round to ensure you do not lose your place during the increasing rounds. When weaving in your ends, weave the yarn in three different directions to prevent the tail from working its way out after repeated washing. To increase the size of the coaster for a trivet, simply continue the increase pattern by adding one additional stitch between your increase stitches for each subsequent round.
Frequently Asked Questions
Can I use a different weight yarn for these coasters?
Yes, you can use any yarn weight, but your coaster size will change accordingly. If you use a thinner yarn, you may need to add more rounds to reach a 4-inch diameter, while a thicker yarn will reach that size much faster.
Why is my coaster curling at the edges?
Curling usually indicates your tension is too tight. Try loosening your grip on the yarn or switching to a slightly larger hook size to allow the stitches more space to lay flat.
Is cotton yarn the best choice for this project?
Cotton is preferred because it handles heat well and absorbs water effectively. Synthetic fibers like acrylic do not absorb moisture well and can be damaged by high heat from a coffee mug.
Can I sell the coasters I make from this pattern?
You are welcome to sell finished items made from this design, provided you credit the pattern origin. Please do not redistribute or sell the digital text of the pattern itself.
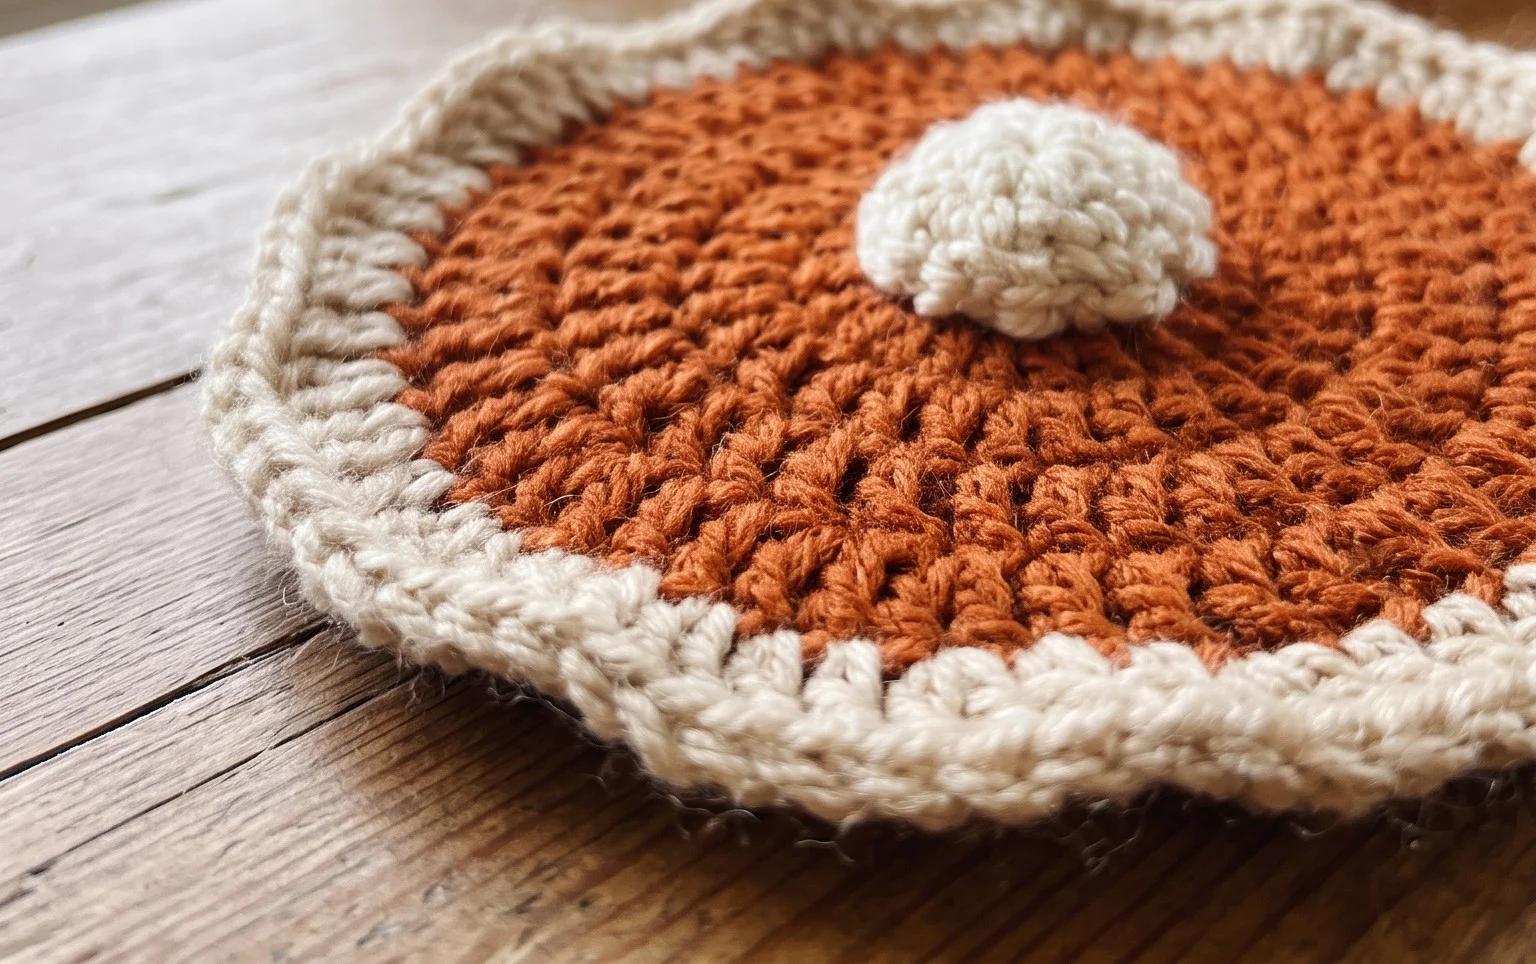
Your finished coaster set adds a seasonal touch to your home that works just as well on a side table as it does on a dining room desk. Try swapping the traditional orange yarn for a deep cranberry or a soft custard yellow if you want to experiment with different pie flavors for a holiday gathering. Please share a photo of your finished work online so other makers can see your progress. Feel free to browse through the rest of the blog for more seasonal projects that use simple stitches and minimal yarn.