Easy Crochet Fox Hat Pattern: Quick Beginner Tutorial
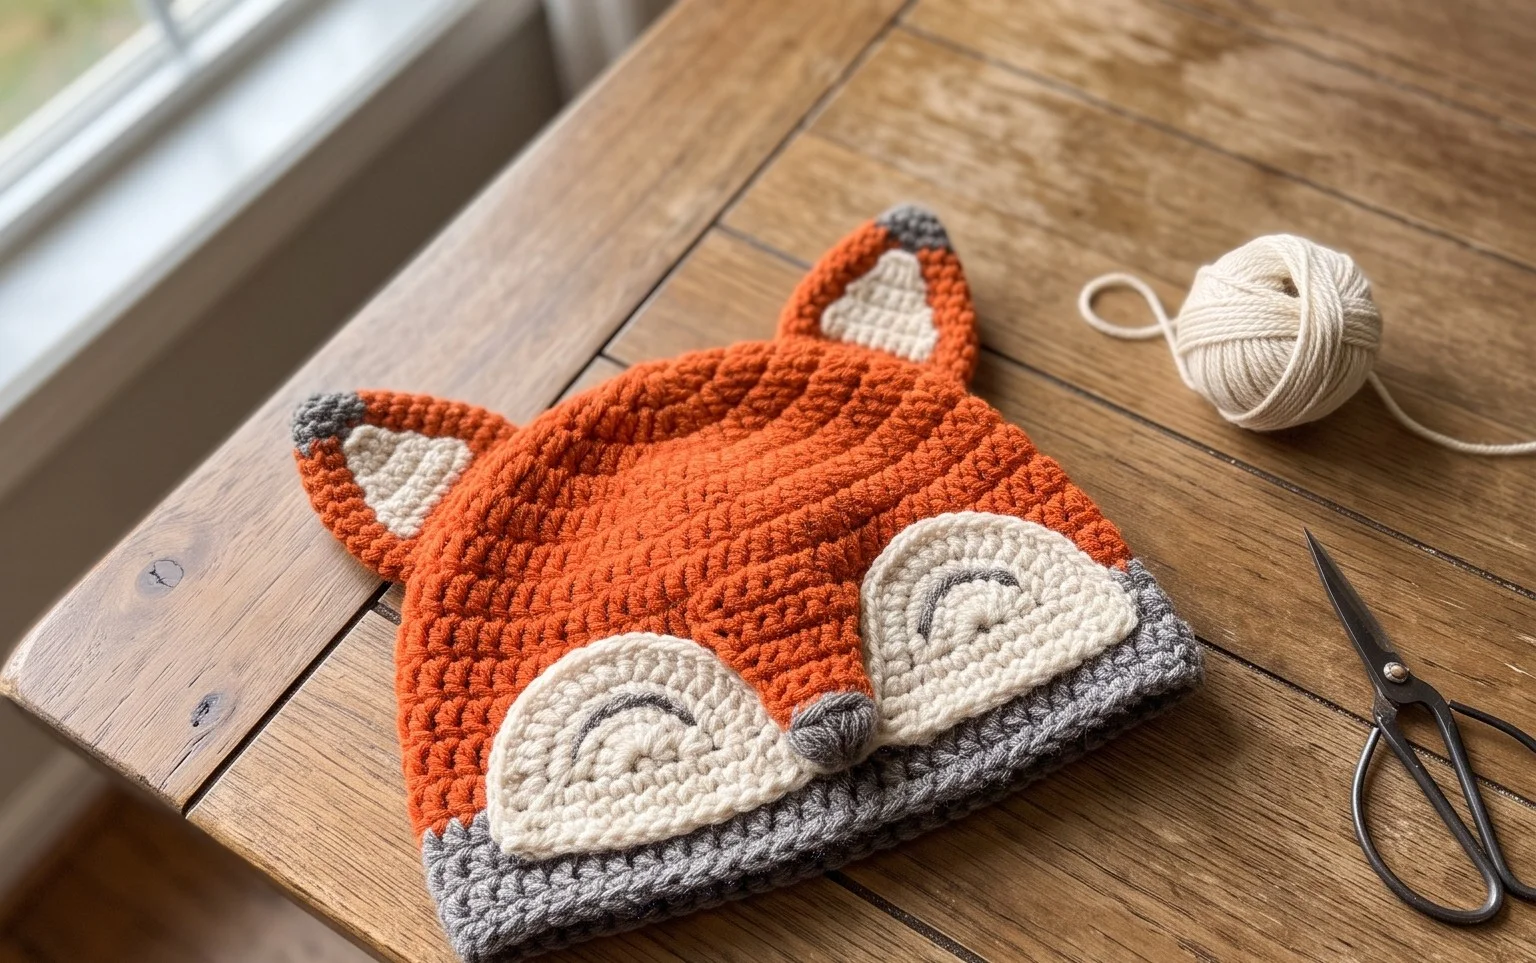
Soft, chunky yarn creates this woodland-inspired hat that sits comfortably against the ears without any uncomfortable bulk. The dense ribbing mimics the warmth of a professional store-bought cap while remaining simple enough for anyone who just picked up a crochet hook yesterday. You will work in back loops only to build a stretchy rectangular base, which transforms into a cozy accessory once seamed. This project is a rewarding way to practice basic stitch tension while crafting something warm for chilly mornings. You will find that mastering this repeating row technique builds confidence for your future headwear creations.
Why You’ll Love This Pattern
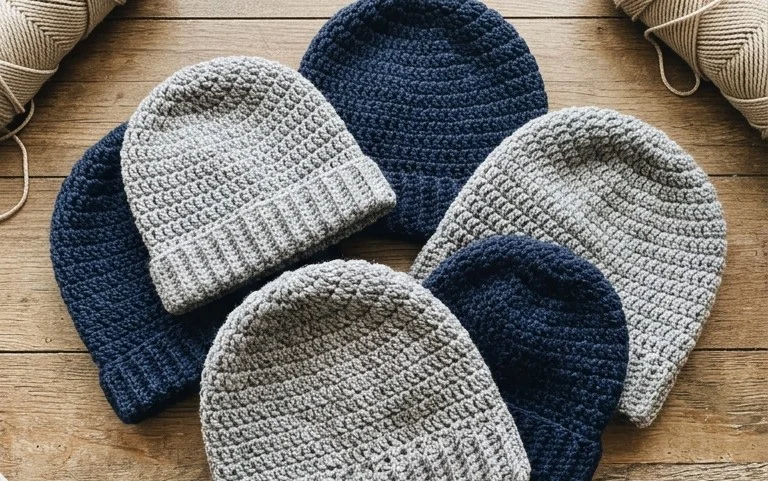
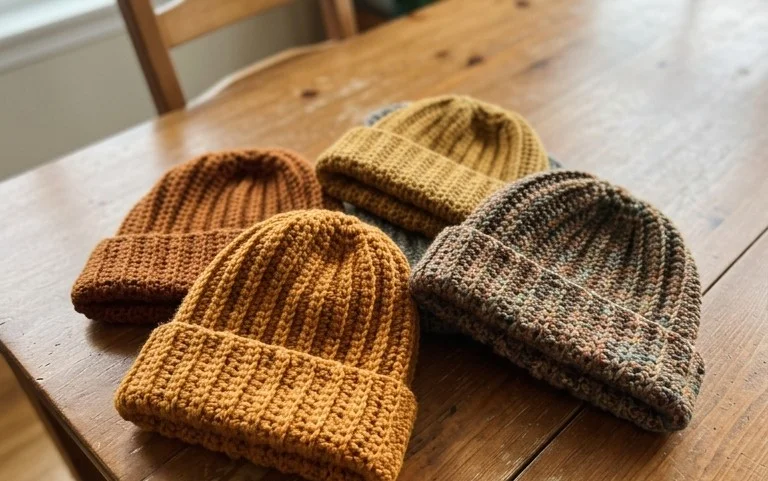
This crochet ribbed beanie relies on a simple repeating pattern of single crochet stitches worked in the back loops only, creating a stretchy, fabric-like texture that fits comfortably on most head sizes. It works up quickly using a bulky weight yarn, making it an excellent choice for a last-minute handmade gift or a productive weekend project. Because the design is worked as a flat rectangle before being seamed into a tube, it is exceptionally beginner-friendly and requires no complex shaping or crown decreases. The inherent elasticity of the ribbed fabric ensures that the hat keeps its shape even after repeated wear and washing.
I managed to finish this hat in just one evening while watching a movie. The texture is so soft, and it fits perfectly without being too tight around my forehead.
— Sarah, hobbyist crocheter
Pattern Overview & Skill Level
- Skill Level: Beginner
- Approximate Time: 2 to 3 hours
- Construction: Flat rectangle worked in rows, seamed to form a tube, then gathered at the top to close
- Finished Dimensions & Sizing: 9 inches tall by 18 inches circumference (unstretched), fits an average adult head
Materials & Supplies Needed
- Yarn: Bulky weight (#5), 100% acrylic or wool blend, approximately 150 yards.
- Hook Size: 6.0 mm (US J-10).
- Notions: Tapestry needle, stitch markers, measuring tape, and scissors.
- Safe yarn substitutions: You may use a heavy worsted weight yarn, though you will need to increase the starting chain length to match the desired height and work more rows to reach the target circumference.
Stitch Guide & Abbreviations (US Terms)
- ch: chain
- sc: single crochet
- st/sts: stitch/stitches
- BLO: back loop only (insert the hook only under the back loop of the stitch from the previous row)
- sl st: slip stitch
- FO: fasten off
Special Stitch Note
Working in the BLO creates a distinct horizontal ridge effect. When working your rows, ensure you turn your work completely at the end of each row and chain one before starting the next to keep the edges straight.
Step-by-Step Pattern Instructions
Hat Body
- Row 1: Ch 30. Starting in the second ch from the hook, work 1 sc in each ch across. Turn. (29 sts)
- Row 2: Ch 1, working in BLO, sc in each st across. Turn. (29 sts)
- Rows 3–50: Repeat Row 2 until the piece measures approximately 18 inches when laid flat.
Assembly and Finishing
- Seaming: Fold the rectangle in half, matching the short ends together. Slip stitch through both thicknesses across the edge to join the hat into a tube. Do not fasten off yet.
- Gathering the Top: With your yarn needle, weave your yarn tail through the edge of one side of the tube using a running stitch. Pull the tail tight to cinch the top of the hat closed. Secure the yarn with a knot and weave in your ends on the inside of the work.
- Optional Finish: If desired, attach a faux fur pom-pom to the center of the gathered crown for a decorative finish.
Care & Washing Instructions
- Machine wash your beanie on a gentle cycle in cool water (30°C) inside a mesh laundry bag.
- Lay the item flat on a towel to air dry completely, avoiding direct sunlight which can fade synthetic fibers.
- Do not iron or bleach; if the brim loses its elasticity, lightly steam it to reshape the ribbing.
Pro Tips & Common Mistakes to Avoid
- Consistent Tension: Because this pattern relies on a repetitive stitch, maintain a loose grip on your yarn to ensure the fabric remains stretchy rather than stiff.
- Stitch Counting: Count your stitches at the end of every row, especially the first few, to ensure you are not accidentally dropping stitches at the edges.
- Invisible Ends: When weaving in your ends, run the needle through the center of the stitches on the inside of the hat to prevent the yarn from pulling through to the public side.
- Size Adjustments: To make the hat larger or smaller in circumference, work more or fewer rows; to change the height, add or subtract chains in your starting foundation row.
Frequently Asked Questions
Can I use a worsted weight yarn for this pattern?
Yes, but you will need to add about 5–8 extra chains to your starting row and work approximately 10 additional rows to maintain the same finished size and structural integrity.
Is this project suitable for a complete beginner?
Absolutely, as this pattern only requires the ability to chain and work basic single crochet stitches in the back loops, making it an ideal first garment project.
How do I adjust the fit if I have a larger head circumference?
Measure your head circumference and work your rows until the flat piece matches your measurement, ensuring you stop on an even row so the seam aligns correctly.
Am I allowed to sell hats made from this pattern?
You are welcome to sell finished items made from this pattern; I simply ask that you credit the design back to this tutorial if listing online.
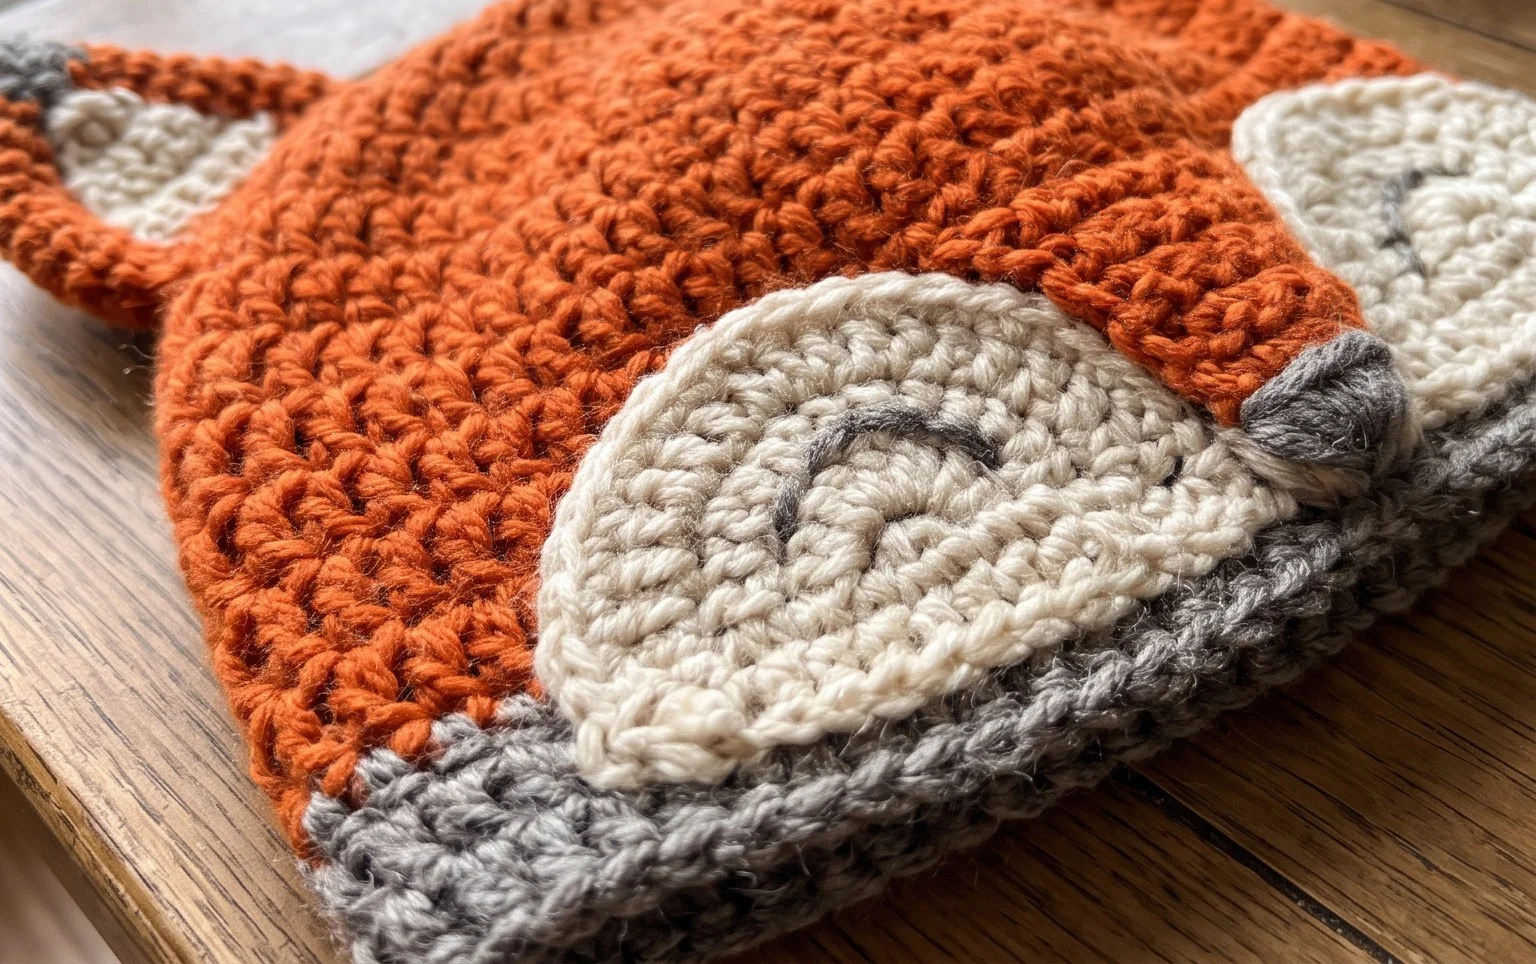
Seeing your handmade fox hat come together after a few hours of work is a rewarding experience that brings a smile to anyone wearing it. You might try crafting this in a muted grey or charcoal yarn for a more subtle look that pairs with any winter coat. Sharing a photo of your finished work on social media helps others find the inspiration to start their own hobby. Feel free to browse the rest of the blog for more accessible designs and seasonal inspiration.