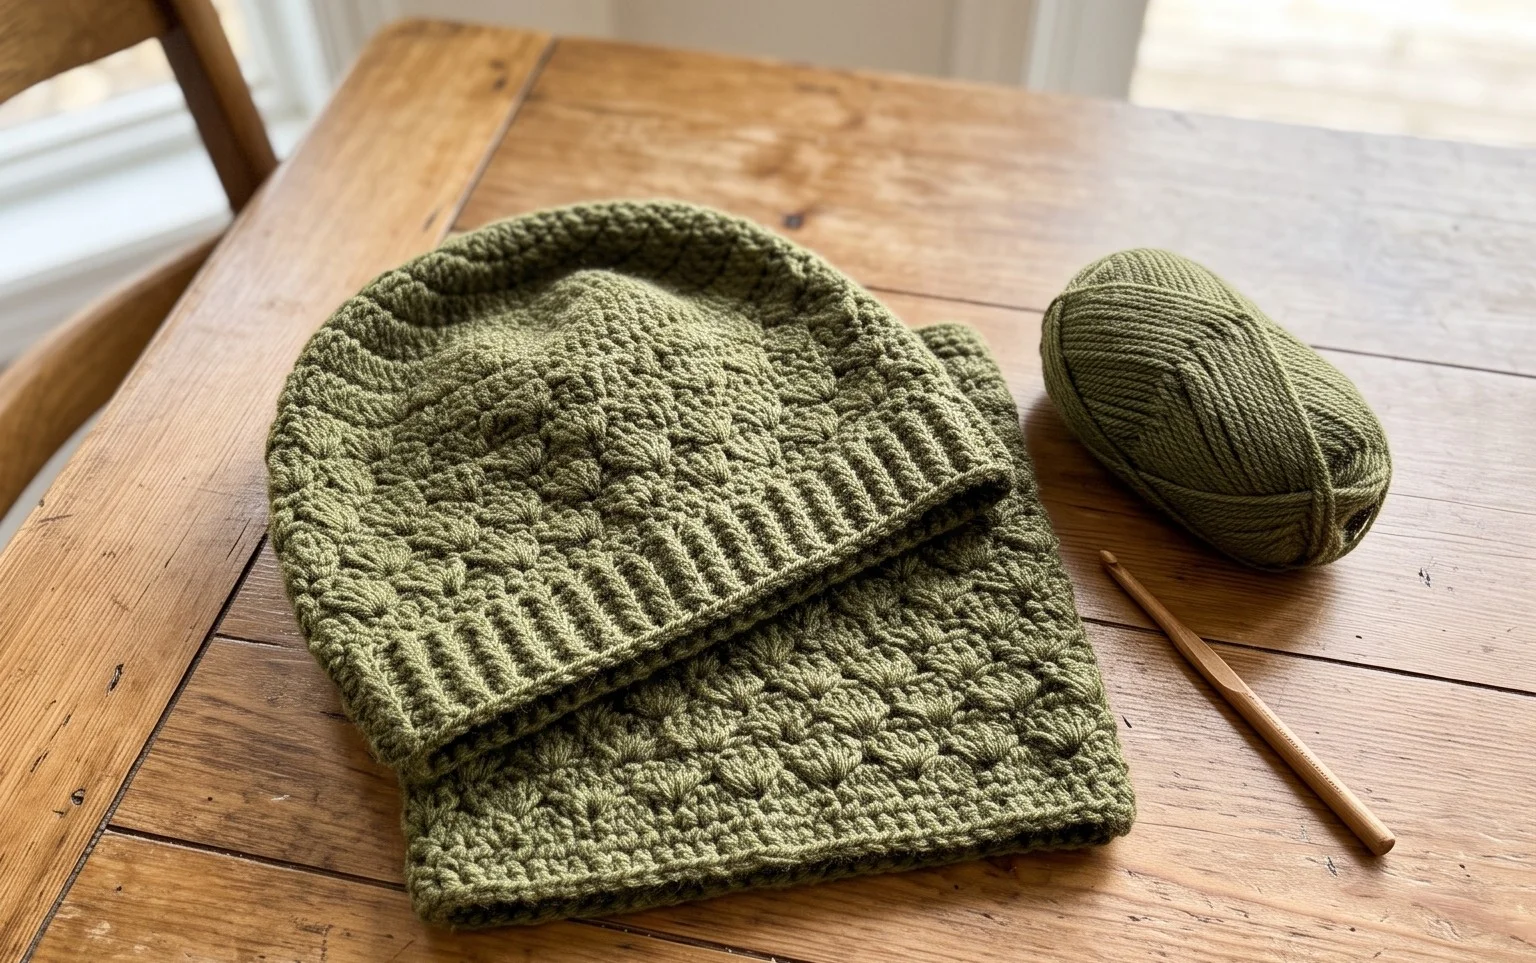
Easy Ribbed Crochet Beanie: Free Beginner Pattern Guide
This wool beanie creates a soft and dense fabric that keeps your ears warm during long winter walks. The tight ribbing stretches naturally, hugging your head without feeling too loose or tight after a few hours of wear. Beginners appreciate the simple rectangle shape because it removes the headache of complex shaping or tricky decreases. You will work back and forth in flat rows using a repeating stitch that creates deep ridges and a clean, modern aesthetic. Beyond the technical skill, this project offers a quiet moment of focus and a functional result that you can finish in a single weekend. Gathering the fabric at the top provides a professional silhouette that looks like a store-bought accessory. By mastering the single repetitive motion of working into the back loops, you gain the confidence to handle any other ribbed project in your future queue.
Why You’ll Love This Pattern
This crochet ribbed beanie pattern relies on a simple rectangle construction, making it an ideal project for those who want a professional-looking accessory without complex shaping. You work the fabric flat in rows, creating a stretchy, comfortable ribbing that fits a variety of head sizes. Because it uses a basic half double crochet stitch worked into the back loop, the texture remains soft and flexible. It is a time-efficient project that typically requires only one or two evenings to complete, allowing you to build your handmade wardrobe quickly. This pattern is also highly forgiving for beginners who are still mastering their tension, as the ribbed stitch pattern hides minor inconsistencies better than standard flat stitches.
I managed to finish this hat in a single weekend while watching movies, and the fit is perfect for my slightly larger head size. It is easily the most comfortable beanie I have ever made.
— Sarah, casual crocheter
Pattern Overview & Skill Level
- Skill Level: Beginner
- Approximate Time: 3 to 5 hours
- Construction: Worked as a flat rectangle in rows, then seamed at the side and gathered at the top
- Finished Dimensions: 8.5 inches wide by 11 inches tall (laying flat, unstretched); fits average adult heads up to 23 inches in circumference
Materials & Supplies Needed
- Yarn: Worsted weight (#4), wool or acrylic blend, approximately 200 yards.
- Hook Size: 5.5 mm (US I-9).
- Notions: Large-eyed tapestry needle for weaving ends and seaming, stitch markers to track row ends, measuring tape.
- Safe yarn substitutions: You may use cotton blends, though note they provide less warmth and elasticity than wool or acrylic. If you choose a lighter weight yarn, you will need to increase your starting chain length to maintain the desired height.
Stitch Guide & Abbreviations (US Terms)
- ch: Chain
- hdc: Half double crochet
- BLO: Back loop only. Insert hook only under the back loop of the stitch from the previous row.
- st/sts: Stitch/stitches
- sl st: Slip stitch
Step-by-Step Pattern Instructions
Main Body
- Row 1: Ch 41. Hdc in the second ch from the hook and each ch across. (40 sts).
- Row 2: Ch 1, turn. Hdc in the BLO of each st across. (40 sts).
- Rows 3-60: Repeat Row 2 until the piece measures approximately 18 to 20 inches wide when slightly stretched.
Assembly and Finishing
- Fold the rectangle in half so the short ends meet.
- Using the tapestry needle and a length of matching yarn, seam the side edge together using a mattress stitch or simple whip stitch.
- Once the side is seamed, leave a long tail of yarn. Thread this through the tapestry needle and weave the yarn in and out along the top edge of the tube.
- Pull the yarn tail tight to gather the top of the hat closed, then secure with a knot and weave in the remaining end.
- Turn the hat right side out and fold the bottom edge up to create a brim.
Care & Washing Instructions
- Hand wash in cool water with a gentle wool-safe detergent to preserve the fibers.
- Lay the beanie flat on a towel to dry, avoiding direct heat or sunlight which may shrink the yarn.
- Reshape the hat while damp if the ribbing looks uneven after the wash cycle.
Pro Tips & Common Mistakes to Avoid
- Maintain consistent tension throughout every row; if your tension is too tight, the fabric will lose its signature stretchiness.
- Use a stitch marker on the first and last stitch of every row to ensure you are not accidentally dropping stitches, which keeps the edges perfectly straight for easier seaming.
- Weave your yarn ends into the internal side of the seams using the duplicate stitch method to ensure they stay hidden and secure even with repeated wear.
- To adjust the size, add or subtract chains from your starting row; keep in mind that adding length requires more yardage, so ensure you have extra yarn if making an oversized fit.
Frequently Asked Questions
Can I use a different yarn weight for this pattern?
Yes, but you will need to adjust your hook size to match the yarn label and modify the number of starting chains to achieve the correct height. A thinner yarn will require more stitches to reach the same dimensions.
Is this pattern suitable for complete beginners?
Yes, this is an excellent first project because it uses only one basic stitch and does not require shaping, increasing, or decreasing within the rows.
How do I make the beanie larger for a different head size?
Increase the number of starting chains to make the hat taller, or continue working more rows to increase the circumference. Ensure your final rectangle is large enough to wrap comfortably around the head before seaming.
Am I allowed to sell hats made from this pattern?
You are welcome to sell finished items made from this pattern, provided you credit the design. Please do not distribute or sell the pattern text itself.
Your finished hat feels soft and provides a warm layer for chilly mornings or outdoor errands. If you want to customize your next version, try swapping the wool for a cotton-blend yarn to create a lighter accessory for spring weather or add a large faux fur pom-pom to the crown for a playful touch. Post a photo of your work on your favorite social media site to show off your progress. You can find more free crochet patterns and project ideas by browsing through the archives on my blog page.