Classic Crochet Granny Square: Free Step-by-Step Pattern
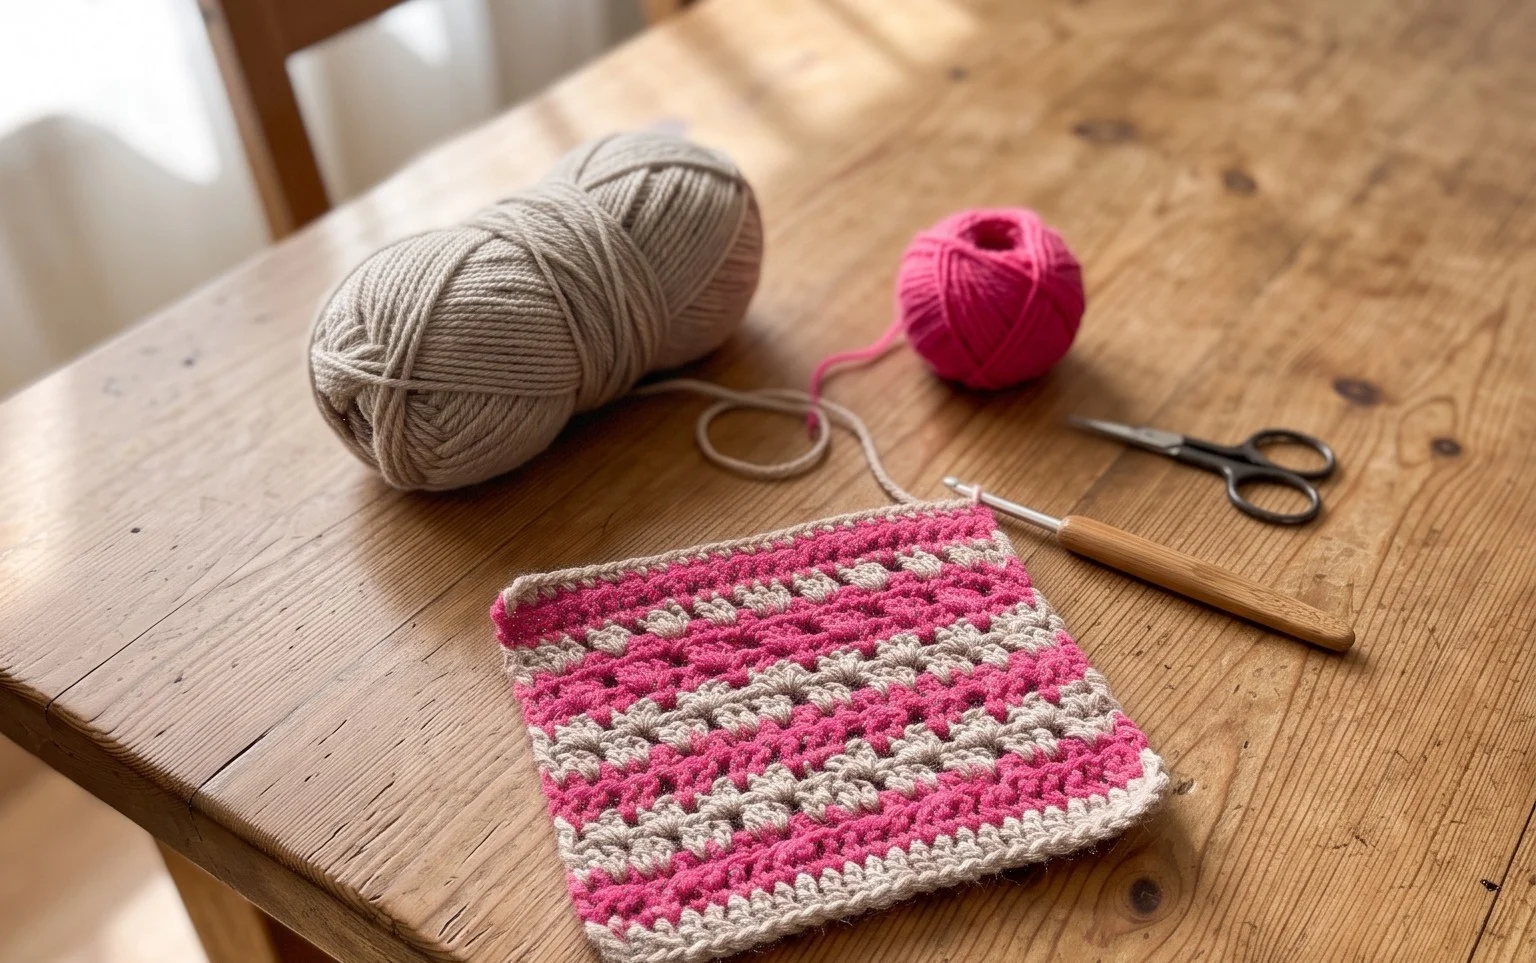
A stack of freshly crocheted granny squares has a firm, slightly bumpy texture that softens beautifully after a quick steam block. This classic design works well for someone picking up a hook for the first time, or for a maker who needs a portable project to fit into a busy afternoon. You will learn the rhythm of three-double-crochet clusters and the chain-space join, which forms the building blocks for countless blankets and home accents. Completing these small squares provides a sense of accomplishment, and the repetitive motions turn into a meditative hobby you can pick up anywhere.
Why You’ll Love This Pattern
The Classic Crochet Granny Square is the foundation of countless textile projects, from cozy blankets to lightweight summer garments. This pattern focuses on the traditional three-double-crochet cluster design, which provides a balanced texture that is neither too dense nor too loose. You will find this pattern remarkably relaxing because it relies on a repetitive sequence that becomes intuitive after just two rounds. Because it works up quickly using standard worsted weight yarn, it is an ideal project for clearing out small remnants from your yarn stash. The square is also highly portable, allowing you to carry your current round in a small project bag for stitching on the go.
I finally learned to crochet with this exact pattern. The clear instructions made the transition between rounds easy to understand, and I finished my first stack of squares in one weekend.
— Sarah, beginner crocheter
Pattern Overview & Skill Level
- Skill Level: Beginner
- Approximate Time: 30 minutes per square
- Construction: Working in joined rounds, starting from the center and expanding outward
- Finished Dimensions & Sizing: Approximately 6 inches by 6 inches when using the recommended yarn and hook
Materials & Supplies Needed
- Yarn: Worsted #4 weight, 100% acrylic or wool blend, approximately 20 yards per square.
- Hook Size: 5.0 mm (US H-8).
- Notions: Tapestry needle for weaving in ends, scissors, and optional locking stitch markers to track the start of rounds.
- Safe yarn substitutions: You may use cotton or bamboo blends. Note that cotton is heavier and less stretchy, which may result in a slightly smaller, firmer square, while bamboo may cause the square to drape more and increase in size due to fiber weight.
Stitch Guide & Abbreviations (US Terms)
- ch = chain
- st = stitch
- sl st = slip stitch
- dc = double crochet
- cluster = a group of 3 dc worked into the same space
- sp = space
- RS = right side
- MR = magic ring (or ch 4 and sl st to first ch to form a ring)
Step-by-Step Pattern Instructions
Granny Square Body
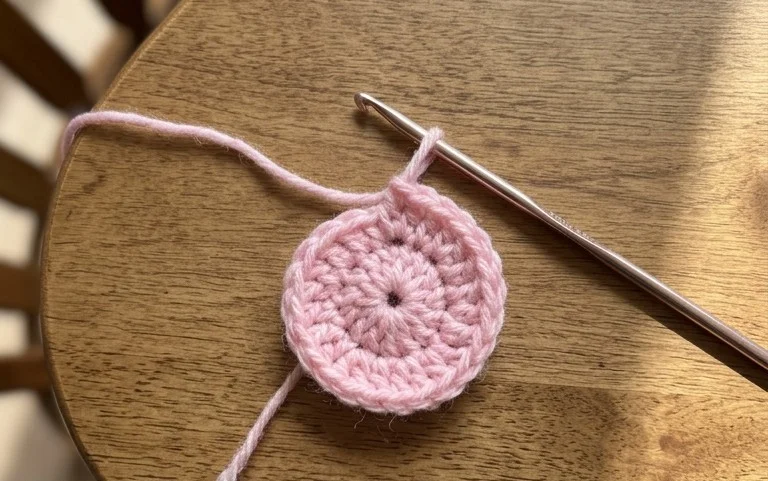
- Rnd 1: Start with a MR. Ch 3 (counts as first dc here and throughout), 2 dc into ring, ch 2, *3 dc into ring, ch 2; repeat from * twice more. Sl st to top of beg ch-3. (12 dc, 4 ch-2 spaces)
- Rnd 2: Sl st into the next 2 sts and into the first ch-2 sp. Ch 3, 2 dc in same sp, ch 2, 3 dc in same sp (corner made). *Ch 1, skip 3 sts, (3 dc, ch 2, 3 dc) in next ch-2 sp; repeat from * twice more. Ch 1, sl st to top of beg ch-3. (24 dc, 4 corner ch-2 spaces, 4 side ch-1 spaces)
- Rnd 3: Sl st into the next 2 sts and into the corner ch-2 sp. Ch 3, 2 dc in same sp, ch 2, 3 dc in same sp. *Ch 1, 3 dc in next ch-1 sp, ch 1, (3 dc, ch 2, 3 dc) in next corner ch-2 sp; repeat from * twice more. Ch 1, 3 dc in next ch-1 sp, ch 1, sl st to top of beg ch-3. (36 dc)
- Rnd 4: Sl st into the next 2 sts and into the corner ch-2 sp. Ch 3, 2 dc in same sp, ch 2, 3 dc in same sp. *Ch 1, (3 dc in next ch-1 sp, ch 1) across side to corner, (3 dc, ch 2, 3 dc) in corner ch-2 sp; repeat from * around. End with ch 1, sl st to top of beg ch-3. (48 dc)
Finishing
Fasten off, leaving a 6-inch tail. Pull the tail through the final loop to secure. Use your tapestry needle to weave the tail back and forth through the back of the double crochet clusters to hide it. Repeat for the starting center tail.
Care & Washing Instructions
- Machine wash your finished item on a gentle cycle in cool water (30C or 86F).
- Lay the square flat on a clean towel to air dry, reshaping it into a perfect square while damp.
- Do not iron the piece, as excessive heat can melt acrylic fibers or crush the texture of natural wool.
Pro Tips & Common Mistakes to Avoid
Achieving a consistent tension is the most important factor for a flat square. If your edges begin to curl like a bowl, your tension is likely too tight; if the square ripples or waves, your stitches are too loose. Always place a stitch marker in the top of your beginning chain-3 to ensure you know exactly where to join at the end of each round. Weave your ends in multiple directions—horizontally, vertically, and diagonally—to prevent them from working loose over time. If you decide to add more rounds to make a larger square, remember that each additional round will require significantly more yarn than the previous one, so ensure you have enough yardage before starting.
Frequently Asked Questions
Can I use a larger hook for this pattern?
Yes, using a larger hook will result in a looser fabric and a larger finished square, but it may cause the stitches to look gappy. Stick to the recommended hook size for the best definition.
Is this pattern suitable for complete beginners?
This pattern is ideal for beginners as it only uses chains, slip stitches, and double crochets. It provides excellent practice for learning how to work into spaces rather than individual stitches.
How do I adjust the size of the square?
You can make the square any size you like by simply continuing to add rounds following the logic of Round 4. Each side will increase by one 3-dc cluster per round.
Am I allowed to sell blankets made from this pattern?
You are welcome to sell finished items you have made yourself, though I ask that you credit the pattern design to this website when listing your products online.
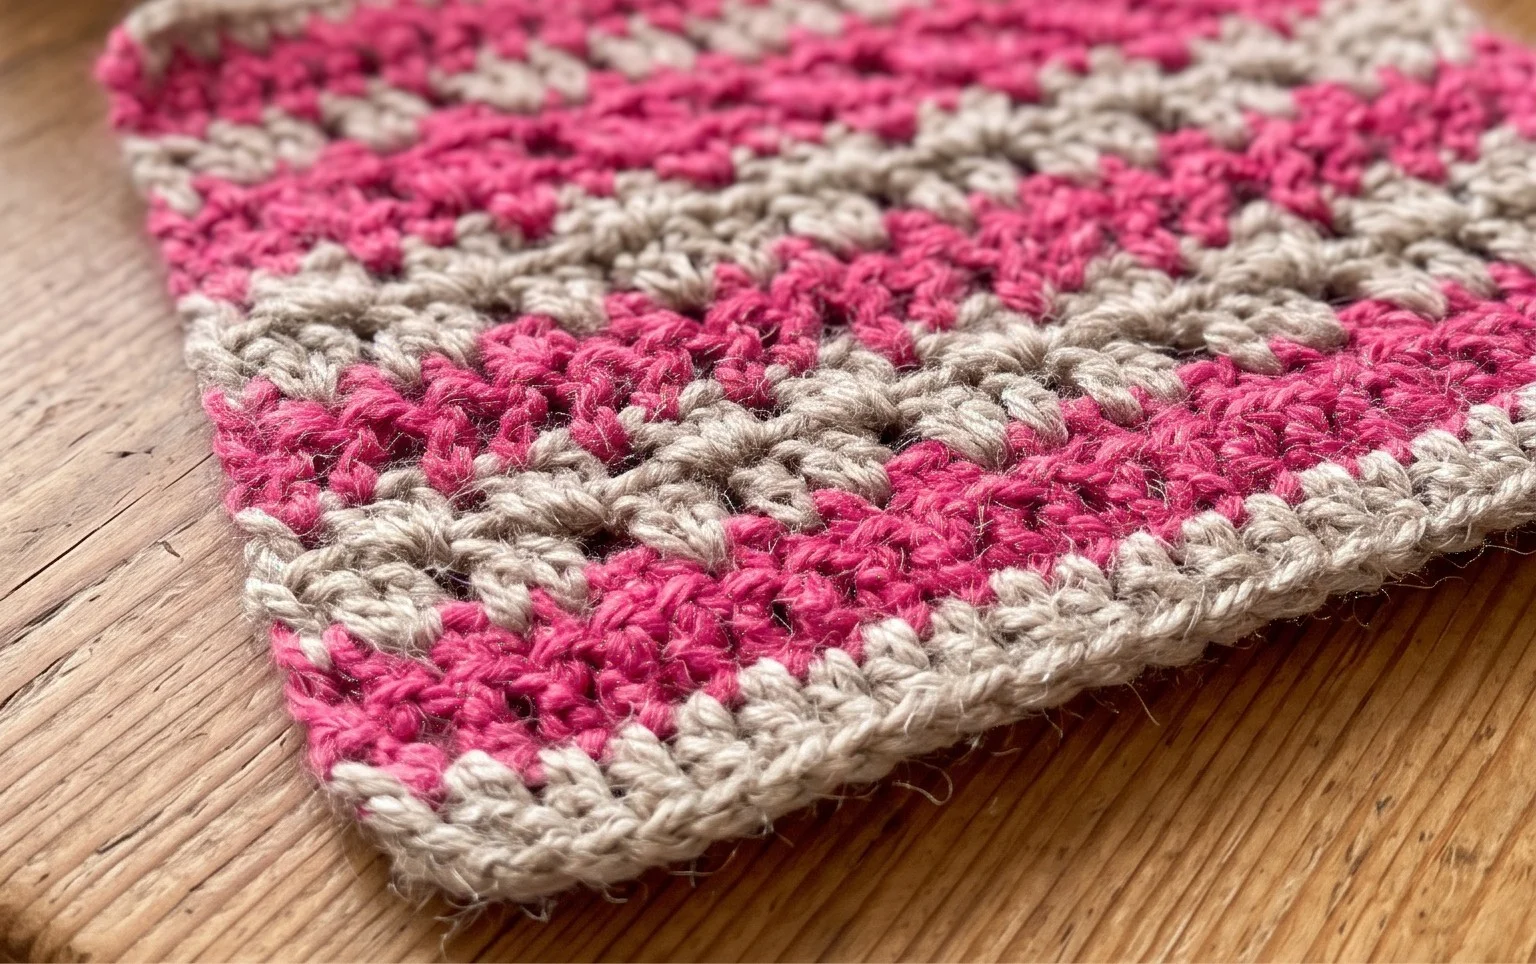
Your finished squares create a warm, textured base for a larger throw blanket or a small pouch. Try swapping your worsted weight yarn for a cotton blend to give your squares more drape and definition for summer decor. Sharing a photo of your color choices on social media helps other makers find inspiration for their own stash-busting efforts. You are welcome to browse the rest of the blog for more free patterns to build your collection of handmade textile projects and stitch designs.