Easy Crochet Christmas Ornaments: Free Beginner Pattern
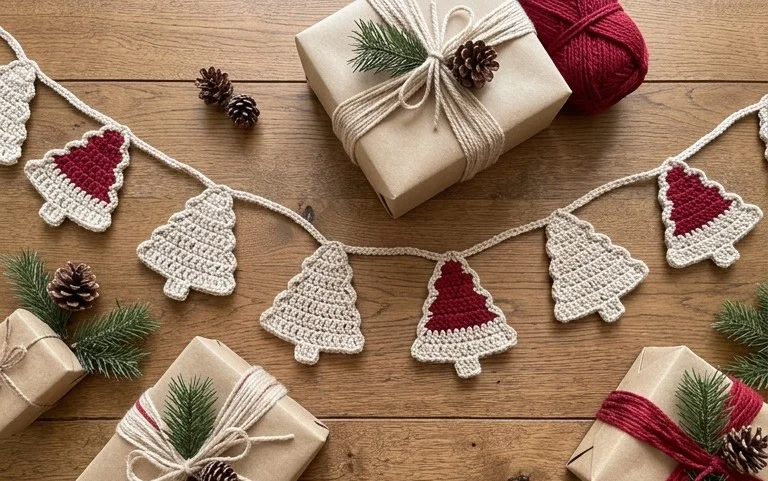
A rustic handmade ornament brings a tactile warmth to any tree, especially when it features the soft, matte texture of natural cotton yarn. These crocheted spheres feel firm yet light in your hand, making them sturdy additions to your holiday collection. Beginners will appreciate how this project builds confidence through basic increase and decrease stitches, while experienced makers will enjoy the meditative speed of the construction. You will learn the specific count required to create a perfectly rounded shape without any odd lumps or flat spots. Creating these decorations connects you to the season through a slow, hands-on process that results in a professional finish.
Why You’ll Love This Pattern
This crochet sphere pattern creates a classic geometric shape that serves as the foundation for countless amigurumi projects, from holiday ornaments to stuffed animals. It uses simple increases and decreases to build a smooth, rounded surface that maintains its structure well. The project is highly efficient, requiring less than 30 yards of yarn, making it a reliable way to use up leftover bits from larger projects. Its repetitive nature makes it an ideal choice for relaxing, low-stress crafting that results in a uniform, professional-looking shape every time.
I struggled with shaping curves in my early projects, but the clear stitch counts in this pattern helped me finally understand how increases and decreases move across the rows to create a perfect circle.
— Sarah, amigurumi hobbyist
Pattern Overview & Skill Level
- Skill Level: Beginner
- Approximate Time: 45 to 60 minutes
- Construction: Continuous rounds using a magic ring and basic increases and decreases
- Finished Dimensions: Approximately 3 inches in diameter depending on yarn choice
Materials & Supplies Needed
- Yarn: Worsted weight (#4) cotton or acrylic blend, approximately 25-30 yards. Cotton yarn offers more stitch definition, while acrylic is softer for toys.
- Hook Size: 3.5 mm (E-4) for a tight gauge that prevents stuffing from showing through.
- Notions: Polyester fiberfill stuffing, a locking stitch marker, and a yarn needle for closing.
- Yarn Substitutions: You may use DK weight (#3) with a 3.0 mm hook for a smaller sphere, or bulky (#5) with a 5.0 mm hook for a larger version; adjust stuffing amounts accordingly to keep the shape firm.
Stitch Guide & Abbreviations (US Terms)
- MR: Magic ring
- ch: Chain
- sc: Single crochet
- inc: Increase (work 2 sc in the same stitch)
- dec: Invisible decrease (insert hook into front loops of the next two stitches, yarn over, pull through both, yarn over and pull through remaining loops)
- st/sts: Stitch/stitches
- sl st: Slip stitch
Step-by-Step Pattern Instructions
Sphere Body
- Rnd 1: Start 6 sc in a magic ring (6 sts).
- Rnd 2: Work 2 sc in each st around (12 sts).
- Rnd 3: [Sc in next st, inc in next st] 6 times (18 sts).
- Rnd 4: [Sc in next 2 sts, inc in next st] 6 times (24 sts).
- Rnd 5: [Sc in next 3 sts, inc in next st] 6 times (30 sts).
- Rnd 6-10: Sc in each st around (30 sts).
- Rnd 11: [Sc in next 3 sts, dec] 6 times (24 sts).
- Rnd 12: [Sc in next 2 sts, dec] 6 times (18 sts).
- Rnd 13: [Sc in next st, dec] 6 times (12 sts).
- Rnd 14: Dec 6 times around (6 sts).
Finishing
Cut the yarn leaving a 6-inch tail. Use your tapestry needle to weave the tail through the front loops of the final 6 stitches. Pull the thread tight to close the hole securely, then insert the needle through the center of the sphere to hide the remaining tail inside the body before trimming.
Care & Washing Instructions
- Hand wash in cool water with a mild detergent to prevent the fiberfill from clumping.
- Lay the sphere flat on a clean towel and reshape it while damp to ensure it retains its round form.
- Avoid using a tumble dryer, as high heat can melt synthetic fibers or distort the shape of the stuffing.
Pro Tips & Common Mistakes to Avoid
Maintain consistent tension throughout the project by wrapping your yarn around your finger to ensure each single crochet has the same tightness. Use a locking stitch marker at the beginning of each round to keep track of your progress, as it is easy to lose count when working in continuous spirals. When closing the piece, pull your yarn tail firmly to ensure the final hole disappears completely. If you choose to resize the sphere, keep in mind that adding extra rounds of increases will change the proportions of the ball; keep your increase and decrease counts identical to maintain a perfect sphere shape.
Frequently Asked Questions
Can I use a different weight of yarn for this pattern?
Yes, you can use any weight of yarn, but be sure to use a hook size two sizes smaller than recommended on the yarn label to create a tight fabric that prevents the stuffing from poking through.
Is this project suitable for someone who has never crocheted before?
This pattern is excellent for beginners because it focuses on the three primary skills required for 3D work: the magic ring, single crochet increases, and the invisible decrease.
How do I keep the sphere from looking lumpy?
Stuff the sphere in small, dense layers rather than one large clump of fiberfill. Use the back of a crochet hook to distribute the stuffing evenly against the walls of the sphere.
Am I allowed to sell finished items made from this pattern?
You are welcome to sell items made from this pattern as long as you provide credit to the designer in your shop listing; always check the specific terms associated with the pattern source for any commercial restrictions.
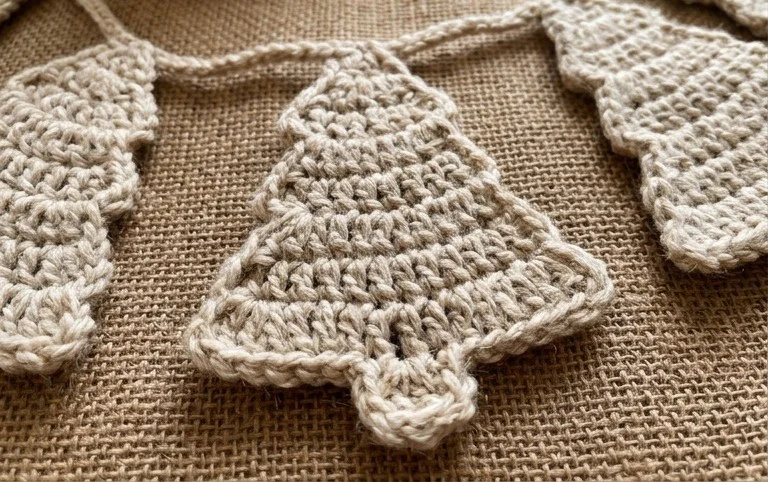
Your finished ornament adds a touch of handmade charm to your holiday tree, reflecting a classic style that complements any decor. Try using a metallic thread held alongside your main yarn for an extra hint of festive shimmer, or crochet a slightly larger version to serve as a bowl filler for your holiday table. Sharing a photo of your work is a great way to inspire fellow crafters who appreciate the simplicity of clean, handmade design. Come back to the blog whenever you are ready to start your next holiday project.